Japanese Anemones step by step
- johanneparsons

- Sep 9, 2021
- 2 min read
Japanese anemones
The Japanese anemones are looking beautiful in the garden at the minute so i decided to paint them And thought i would share a step by step with you.
Please let me know if you try it and how you get on.
I often paint without sketching but I know a lot of people are not comfortable starting this way.
Whilst I would definitely encourage you to try it I have started this painting with a very light outline of where I want the main flowers and buds to be.
I then painted each flower using Daniel Smith rose of ultramarine as I love this colour, and a touch of opera rose which is very bright.
Dont be afraid to leave some areas white and to use lots of water.
try not to keep going into the paint try and let the water do the work for you.
Whilst the paint was still wet I added some green gold for the centre.
I like the way it spreads out into the flower.
Each flower is treated in a similar way whilst trying to make each of them slightly different.
Add some buds.
Here I also used some pyrelene green to add a bit of contrast.
As the flowers dry you can add some details.
I did this using a mixture of more paint, fine liner and Posca pen for the details.
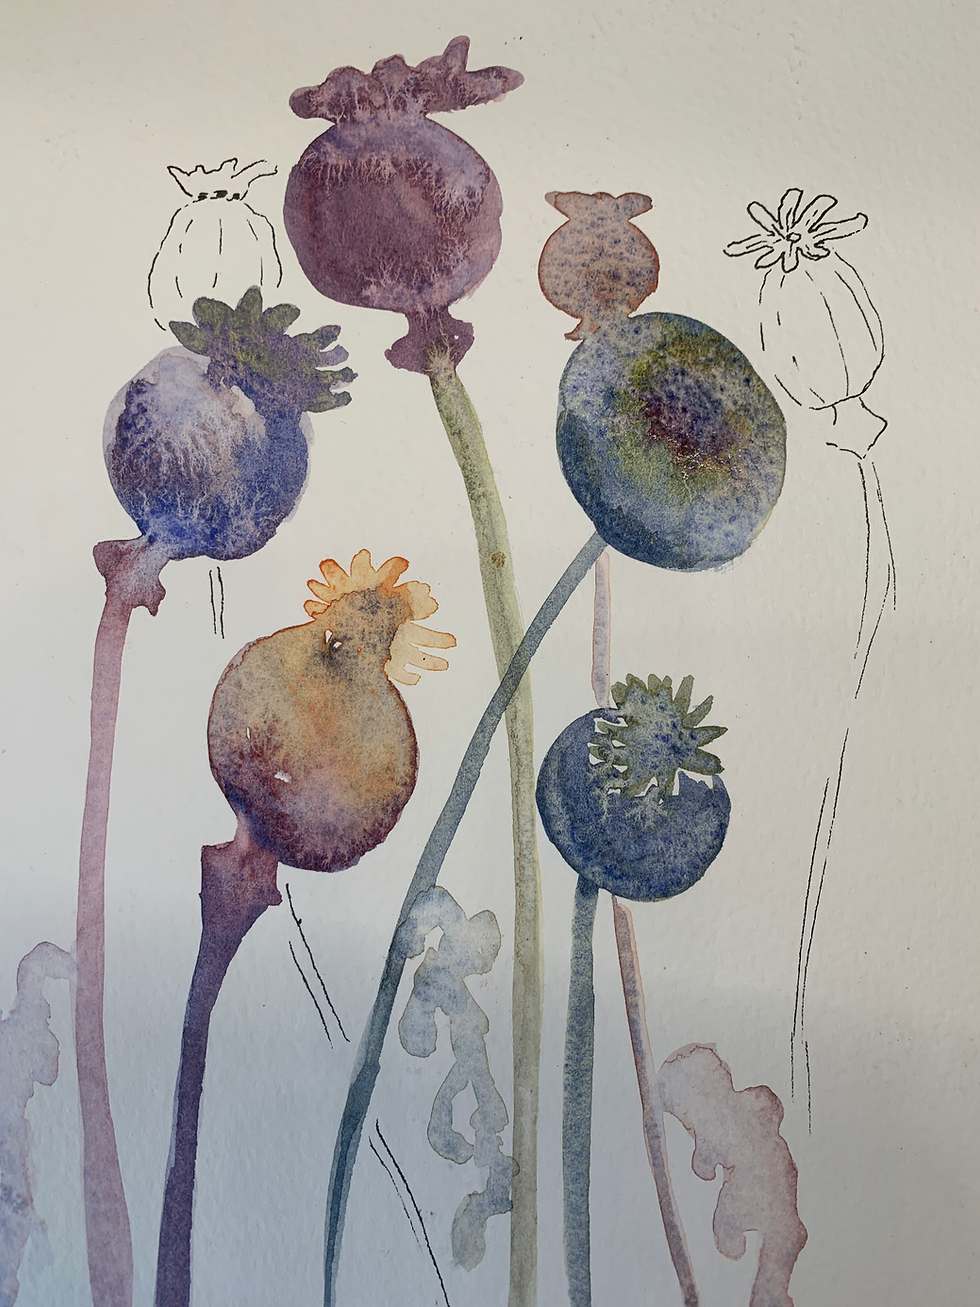
I also added some sketched details with fine liner.
The trick is to not go too far by outlining every detail - just enough to add interest and keep it loose.
A few stems, suggestions of leaves and seed heads to finish it.
I hope you enjoyed my step by step and that it gives you the confidence to try it yourself.
Please let me know if you do and how you get on.
much love joe x


That is so effective, I am definitely going to try this. Thank yx